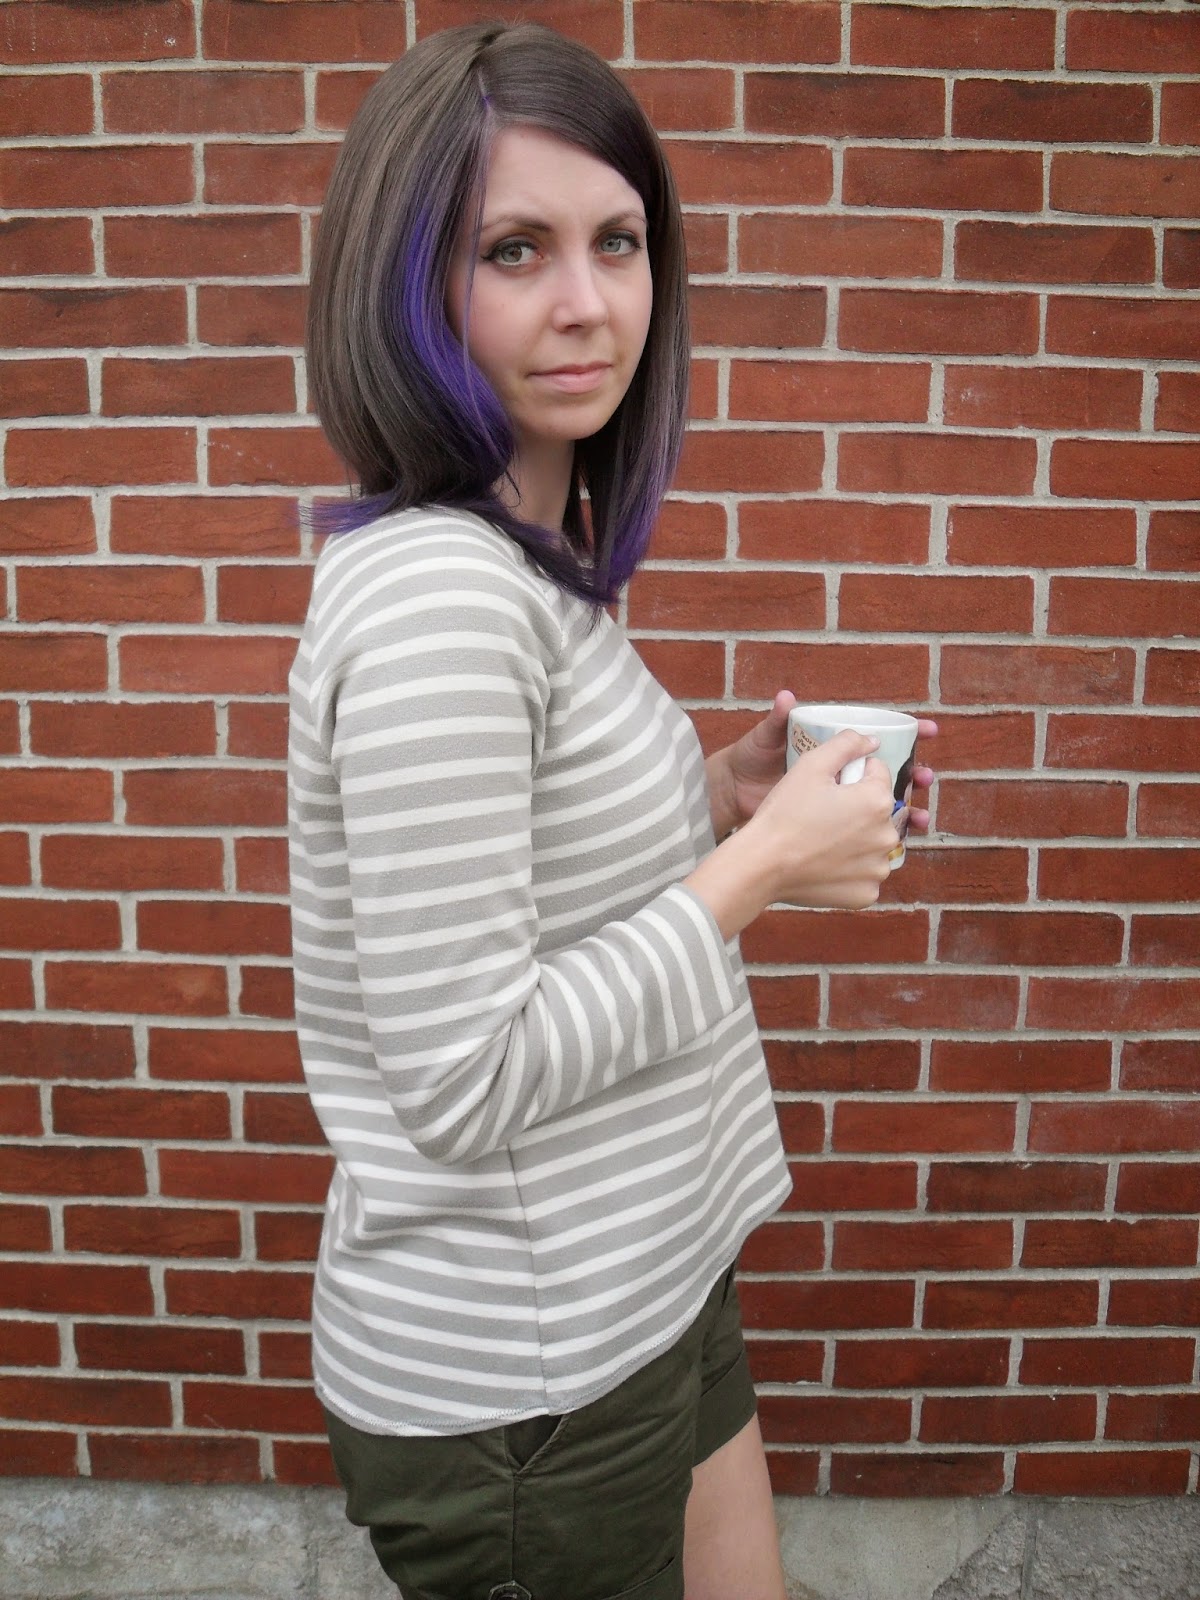
Saturday 13 December 2014

In which I show you the shortest dress I've ever loved.

Nothing like a last minute entry, eh?

I saw Tilly introduce the Francoise pattern and thought it was cute and put it on my mental "to make" list. But then I saw the #SewingFrancoise contest, and the fire under my butt was lit. I clicked "purchase" and was on my way.
#SewingFrancoise dress :)
My original plan and what you see here are so completely different it's almost amusing. When I read that one of Tilly's suggestions was to make it a Christmas party dress, I was planning on making it in a rich red velveteen with a detachable white fur collar (also care of Tilly). I had read Handmade Jane's review, though, and was worried that the thick fabric would be more trouble than it was worth. Also, I was concerned with sewing those long waist darts in velveteen, and how much movement I would get in the sleeves with a not very stretchy fabric. So I decided a muslin was definitely in order. Luckily, in the plastic tub where I keep my muslin fabric, I came across the two fabrics you see here and thought "they would look great as the bodice and contrasting sleeves", and off to the races I went. Both fabrics were gifts from my sister from her fashion design schooling days. The green fabric was a pain to press and a bit slippery to sew with. Probably some sort of polyester made to look like linen. The floral is a stretch cotton I believe and lovely to sew with. Presses like a dream.

I had a number of issues. The first is that those damn waist darts gave me a considerable bit of trouble. On the original pattern, both the bust and waist darts were way too high on me. But the odd thing is that they didn't result in nip-bumps. But they looked odd. So I moved them. Like fifteen times. And the waist darts now sit where they should, but give me little nip-bumps. Whatever. I'll just have to work on it in future versions.

And another thing: don't ask me what size I'm wearing. I originally cut this 3-4-6 but found that the muslin looked like a bag on me. So I ended up making a new front muslin in a 3-3-5 and found it was better. So the back is 3-4-6 and the front is 3-3-5. But honestly, even then, I took it in some more. Oh well.

Some other changes I made: I finished the neckline with self-fabric bias binding because I'm lazy and don't like facings. (Not sure how "spent all night making bias tape" is lazy but to me facings are too fiddly and in my mind would take longer....right?)
What am I doing with my hand? I. Don't. Know.
I also put in pockets! Huzzah! In my new teaching job (oh yeah, I didn't tell you...I got a job in Special Needs again...woot woot!), I have a lanyard with my school keys on them and I HATE wearing the lanyard around my neck, so pockets are a must. Plus I often have my cell phone with me in case the EAs need to get a hold of me for anything and I'm tired of stuffing it into my bra. (Clearly, I'm the classy teacher in school.)
You can kind of see the nippley darts from this angle.
Final thoughts: I forgot to add length to the dress and will do so next time, but even though it is short, it is still super cute (which is shocking because normally I hate short skirts, they are usually not very flattering on me). I might end up wearing this with leggings as more of a tunic (I hate tunics but I can make an exception), so that I don't accidentally flash some ass at school. I think it will still look cute like that. I think overall this will get a lot of wear and I'm happy with it even though originally, when my sister gave me these fabrics I didn't think I would use them because they weren't "me". Go figure.
Although I had the dart problems, I will make this again, maybe next time with no sleeves (maybe I'll use the velveteen for that), just to see how the fit changes.

Overall thoughts: thumbs up :)

 I have a few more projects on blogging back-log that I haven't had time to type up (I'm finishing up a course and coaching basketball????? Don't ask haha.), but with the holidays coming up, they will be on their way soon.

Thanks for stopping by! Hope you like it :)

{No, it's not Christmas}

Wednesday 8 October 2014

In which I show you the most Scottish/Canadian thing you'll see all day.

Here is my very Canadian/Scottish husband wearing not one but TWO PLAIDS.
AT THE SAME TIME.
And he loves it.

(I can't decide if this is more Canadian or Scottish. I guess it would depend on whether or not he has a sporran or a hockey stick as an accessory.)

I made this Negroni back in February for him for Valentines day. Admittedly, it is a wee bit small (he has Scottish shoulders, and the wristband thingys [Why you no work, brain?!] are too tight), so it doesn't get too much wear. But with the sleeves rolled up, it's not too bad.
I wasn't thinking when I picked out a fabric for the plackets and lining. I should have picked something simpler. Trev isn't a "polka dot" kinda guy and I didn't think it through enough to realize that the polka dot would definitely show. But that's okay. He can wear this around the house and I'd be happy with that. He already wore it camping. Hooray! Next time he can help pick out the fabric.
I'm really happy with how the topstitching turned out, especially on the pocket! I really took my time with this one, probably because it wasn't me who would be wearing it (not that I haven't already worn it haha).

I also tried my hand at embroidering and really like how it turned out!
Trev is from a smaller town that is about a three hour drive from here (just outside of Muskoka), and so he always compares life in the Falls to life in the "north", so I think of him as my northern boy.
I really effed up stitching the lining down in the inside back, but sorry, not sorry, I was not unpicking it. It is somewhat noticeable, even with the plaid, but that's okay.

The pattern was really easy to follow, considering this is probably the most complicated thing I've made. I think I'll end up making more, but probably not as quickly as my Nettie. That's okay. Trev's not a picky guy.

Nothing else really to say about construction or fit (obviously I'll be going up a size next time), so please enjoy this pictures of Trevor very seriously modelling his shirt for you:

"Blue Steel"
"Le Tigre"

Please share: Have you made anything for your man?

{"Magnum"}

Saturday 27 September 2014

In which I show you my most favourite shirt EVER.

I'd like to introduce you to my favourite sweater, the Hot Cocoa from Dixie DIY. This top is my homeboy. It's my BFF. My One True Love. (In terms of my closet!)

I first saw it on Marie at A Stitching Odyssey and fell in love. I had never downloaded a pattern before, AND I had never tried a knit. I felt like this would change all that.

Someone's gotta keep an eye on the dog, amirite?
I made this back in January I think? Somehow, with being on an LTO (teacher talk for a job) while working a night job I found time to do this, and then I got the other LTO so I didn't have time to take pictures (though I had LOTS of time to wear this).

K, imma gonna stop ya right here and just say, I look cranky in most of the following pictures. I'm not cranky, it was way too cold to wear these shorts but for some reason I wanted to wear these shorts for the shoot. So I didn't smile much. I don't know. Just deal with it haha.


I literally wear this multiple times a week. I can wear it to supply teach or I can wear it just puttering around the house. It is PERFECT. There I said it. It is super comfy, and was wicked easy to sew up. In terms of construction, I followed Marie and added three extra inches. I didn't think my principal would like the belly-baring look.

For being my first attempt at knits, I think it turned out pretty damn good. And that stripe matching where the raglan sleeve meets the bodice--totally accidental!! SHUT. UP. (Just don't look at my left side seam please.)
Right side seam, again totally acciden---I mean I MEANT to do that. ;)
I have gotten paint, grease, you name it on this bad boy but she's a survivor. It's like the sweater knows that it is my soul mate. Awwww.

I got this ponte knit at my local fabric store. I think it was about $21 a metre? It was a really long time ago, I can't remember. Totally worth it though.

I just picked up a black and white stripe ponte knit and so I might make me another one of these now that the fall weather is here. Alternately, I might use up my leftover Nettie fabric. I definitely have enough to whip one up.

If you haven't made one of these sweet babies yet, I highly recommend. Came together super quick once everything was cut out. If you've never made a knit, this is definitely one to jump right in with.

And, as per usual (I feel like this is becoming a "thing"), best shot of the day:
I think the best part is how smug I look about accidentally blinking hahaha.

Have you tried the Hot Cocoa yet?

{It will make your day more than my shirt makes my day.}

Sunday 21 September 2014

Madam Mix-a-Nettie

How did I come to decide that I was going to make a Nettie when I generally tend to shy away from hip hugging garments? Try and keep up if you can:

I had been given some Spoondollars for my birthday last year, and really wanted to get this fabric (Erin, if you ever have a Dog Lady Sewing Challenge, you know what fabric I'll be wearing at the end!). I had originally planned on just buying it as a woven, but after making a knit project (to be blogged), and getting a bit frustrated with a woven dress PIP, I thought that it would be great to try the Moneta instead. But three yards of fabric at Spoonflower would be roughly $80 and I didn't want to just fly into a knit dress pattern without trying it out first. Cue to my local fabric store closing (everything is currently 50% off!!!!!), and I found a nice navy Ponte knit that I could use to essentially make a wearable muslin with. At this time, I was also interested in making a whale dress for an upcoming protest at Marineland. Again, I wanted to make it a knit, but because this wasn't the fabric that I had been coveting for like a year, I didn't want to drop $80 for 3 yards on it. So I thought maybe I could make it a Nettie since that would reduce the yardage to 2 yards instead of 3. Worried that I would need a muslin before doing that, I scrapped my original plans and used the navy as a wearable muslin for the Nettie (which basically turned out great so it is not really, in my mind, in the "muslin" category). Will the whale dress actually happen? That remains to be seen. (It may end up being a skirt, but we'll see). What about the dog dress. Hells yes! Just not rightnow.

I cut the dress as a 6 in the bust and arms, and graded to a 14 on the hip (see bottom of post). I think next time I might just grade from an 8 to a 14. It fits really nice and snug but, even after pre-washing the fabric, after a day of wearing this, my armpits are blue because it is so snug.
I chose the high neck, medium scoop back. I already have some ideas about a low scoop back version in burgundy with a tartan bow (like Tilly's version) to match the hubby's kilt, a t-shirt version, and maybe a striped version or colour-blocked version using the navy and one of my stripe Ponte knits I have sitting around (P.S. fabric store closing sales are really, really, really bad if you are trying to be good about using your stash).
Although I did stitch the binding down, I didn't stitch some of it close enough to the end so I'll have to go over it. No biggie.
I love that with a blazer or cardigan I can wear this to work, with runners and a sweater I can run to the grocery store in fashionable comfort, but with the right accessories I can wear it to a wedding or date night with Trev. Tres versatile!
Overall, I'm super freakin' happy with this make. It was super easy to make, I probably did all the sewing in about 2 hours over two or three days. The more I make knits, the less I want to make wovens. (And when I do make wovens, the more frustrated I get while making them!) There will definitely be more of these in the works real soon.
Looking at this picture now, I can really see just how tight it is in the pits. Yikes!
Remember that talk we had the other week about photo faces? I'm going to leave you with the best "modelling" I have to offer:
Please share: have you tried Nettie yet?

{See above post}

Thursday 4 September 2014

Home-sews: Harley's Haus

This is something I've finished ages ago (probably last September), but I just really haven't gotten around to posting it until now.

I saw this picture on pinterest and really wanted to replicate the idea for Harley.

So I kept my eyes peeled on kijiji and found this:
The whole thing had really seen better days.

So,, the first thing I did was take off the doors and use some wood-filler on the various gaping holes.
Next I sanded the whole thing down.
I used a spray paint primer:
And then painted this bad boy black, followed by some clear-coat to seal it.
I lined the inside walls and ceiling with home dec. foam and then covered it in fabric (using lots of glue and staples). Then I used pretty nails to cover the staples on the outside edge. Next I roughly cut out a piece of foam to fit the floor of the inside, using that as a pattern for the pillow. I sewed up the pillow, inserted the foam and then added some extra padding (I used recycled PET bottle filling). That's it!


Well, there was more involvement than this (like seven coats of black because I messed up the "smooth" finish and I am anal about stuff like that), but only marginally.

So, what does it look like now?

Well let me show you.


They are not the best quality photos, but can you blame me for not wanting to move this?

Needless to say he loves his bed and I love that I have dual functioning furniture.

It was a fun little project and I love that his bed matches our couches (we have plaid pillows and a plaid chair in a similar colour).

It even inspired us to sand down some other furniture (I won't bore you with that as: A. its still not done and B. it involves no sewing), which is pretty exciting! Reduce, reuse, recycle folks!

Now off to work on some other projects (sewing related) that I am really excited about. Can anyone say Nettie?

{SO GOOD}

Saturday 30 August 2014

WHY SO SERIOUS?

WOW. It has been forever.

Deal with it!

I've actually had time to finish a couple of other projects, but just haven't gotten around to posting them.

So, for the time being, I would like to share this quick project that I worked on over two days while I was also cleaning/reorganizing the entire house. Yep. Entire. House.


......Joy. :|


So I was on Charity Shop Chic when I read about a little refashioning contest over on sew Amy sew. I looked at the pile of clothes my cousin had given me to do whatever I wanted with, and decided I would give refashioning another whirl.

My cousin had cleaned out her closet and upon hearing I had started to sew, decided to pass the old clothes on to me. Anything I liked, I could keep, hack away at, do whatever with, and anything I didn't would head to the thrift store. Nothing really fit and most of the pieces were dated (hence the reason why they got the closet 'boot'), but I kept a few that were either made out of nice materials or that had a nice design.

So I chose the following dress to refashion. Sorry about the crummy pictures. But you will see that the dress is too big, has an empire waist, some sort of scrunchie, ruffling going on in the bust, and spaghetti straps. A *wee* bit mid ninties:


Yup, that's my sports bra. Also, huge welt= mosquito bite


Channelling my inner refashionista.
As you can see, much potential, but just not working as is.

So I unpicked the bust portion from the waist.
Then I unpicked it from the zipper, and unpicked part of the waistband from the zipper as well. I also unpicked the opposite side seam to get rid of the waist ties. (I love a good waist bow, but I thought this through and to make it really versatile, it would have to be belt-less).


Then I whipstitched along the top of where I wanted the zipper to stop on both sides, and chopped the top off. Finally, I stitched the waistband to the zipper, the side seam together (taking the side in a bit), and then topstitched the top of the waistband together. Pretty simple stuff really.

Now, I gotta tell ya, before I show you the after. I think it is pretty funny when I read other blogs and they write exactly what was on my mind for the week. For instance, after doing my photoshoot while out camping, I had come to a realization about what works for me when taking photos. When I returned home, I found that the same thing was going through the mind of a certain Kalkatroonian.

Now, while I don't think the hubs is going to go onto the ground for our shoots, I did find what works better.

I can't do serious.

I NEEDS the funny. The goofy. The silly.

Serious face kind of looks like, hmmm, how do I say.... not impressed?

Yeah, that's a nice way of saying it.

For instance.

Serious face:
I WILL CUT YOU.
Silly face:
HA HA I'M SO SILLY LOOK AT ME HANGING OUT WITH THIS TREE!
Serious face:
SO UNIMPRESSED. CAN WE LEAVE NOW?
Funny face:
I......I don't know what I'm doing.
Let's be honest here, I feel like an idiot prancing around and taking photos of myself to put on the internet. It seems so.....vapid. The silly helps to make me look less....hmmm....constipated? It helps me to cope with feeling like a moron. So I've learned that silly suits me. And I'm going to stick with it. At the very least, I'm going to smile.

I can't take myself very seriously here folks.

Though there is something to be said about this "looking at the clothing piece" photo:

So, before I leave you with the money shot, I have to say for such a quick project this is already a favourite skirt. Super comfy, a classic silhouette, with a perfect timeless pattern yields a big winner. Huzzah for refashioning!!! Hooray for diverting waste!!!! Yahoo for hugging trees (literally and figuratively)!!

Okay. Ready for it?

Here's the money shot. Enjoy it in all its glory:
LOOK AT THOSE GAMS!
Thanks for stopping by!!! :)

{STUCK IN MY HEAD, SO MUCH YELLING}