First--Look at how pro this looks!

I am so happy with how the set looks overall. This is the first time I've tackled something so different from what I normally sew, and, although it took forever (two weeks here and there over the holidays, not really forever), I think I rather enjoyed making this.

Instead of cotton webbing, I bought extra self fabric and used that to make the straps. For the most part, this worked quite well. I used a navy cotton/poly twill for the self, and some home dec poly (I think) for the contrast. All I did was cut long strips of fabric 6" wide, folded it in half to the centre, then in half again and top stitched (like the free Bag-Making Basics Craftsy tote).

If you plan on using fabric instead of webbing, you'll probably find, like me, all the pieces that attach directly to the bag are pretty easy to sew through with a little bit of patience, even with the extra layers that you need to go through as a result.

Sewing through the layers on the detachable strap, however, was frustrating. My machine was less than pleased. Not my best work. I think for my next three bags (in the works), I will suck it up and buy the webbing for that part anyway just to save myself the curse words. Also: I know a lot of people were confused about using the D-rings as sliders, but I found that Jen's instructions on that part were very clear. My strap came together in about a minute (minus the actual sewing).

I bought a 22" purse zipper, mainly because Fabricland didn't carry a 21" one and I didn't want to come up short. Well, I worried for nothing because the zipper was way too long. I feel like I may have been able to get away with a 20" zip, but I will have to test that in future versions, so don't get mad at me if you try and you do come up short. Unfortunately, I've already purchased and washed all my zips for the next three, so I'll just have to shortened the zips like I did this one. Mind you, I rather like the look of the double zipper, I have to say. I thought it would be great way to stick a travel lock on it if you were to bring it travelling.

SPOILER ALERT: I accidentally sewed one of the front pockets closed. Whoops.

I used a cute home dec cotton polka dot as the lining fabric. It was a little lighter weight than the other fabrics. I honestly don't think that you need a heavy home dec weight fabric for the lining. I know it would stand up better to wear and tear, but unless you are using this everyday, I think it would be fine just to use whatever if the mood struck. I think I am partly saying this because I can just picture future versions of this with Spoonflower throwing up all over the inside. :)

Because I sewed the outside pocket shut, I figured I'd put a little wee one inside. BTW, it was my own fault--not Jen's--that I sewed it shut. Don't sew too late at night or when you are tired....

Overall, the duffel bag came out relatively well. My friend (who received this) claims that she could probably squeeze herself into it if she were a contortionist, so it is pretty roomy.
The only other thing is that I struggled with figuring out how to best sew the bottom of the bag, I didn't quite understand what was meant by the instructions on that and would have appreciated a picture or video for that part. It doesn't look great, but it is the bottom of the bag so deal with it.
A minor issue I had with the duffel is that some of the pattern pieces are improperly labelled. Some of the pieces don't say to cut out any interfacing, but really, when you look at the interfacing layout, you are supposed to (I think it was the bag end pieces that I came across this problem). So I would suggest double checking this as you are cutting out. I ended up having to iron the interfacing on after I had already sewn on the side straps, so that's kind of a bummer. And along with this, there is no interfacing guide like with Grainline's other patterns, so I think that would have been helpful here.

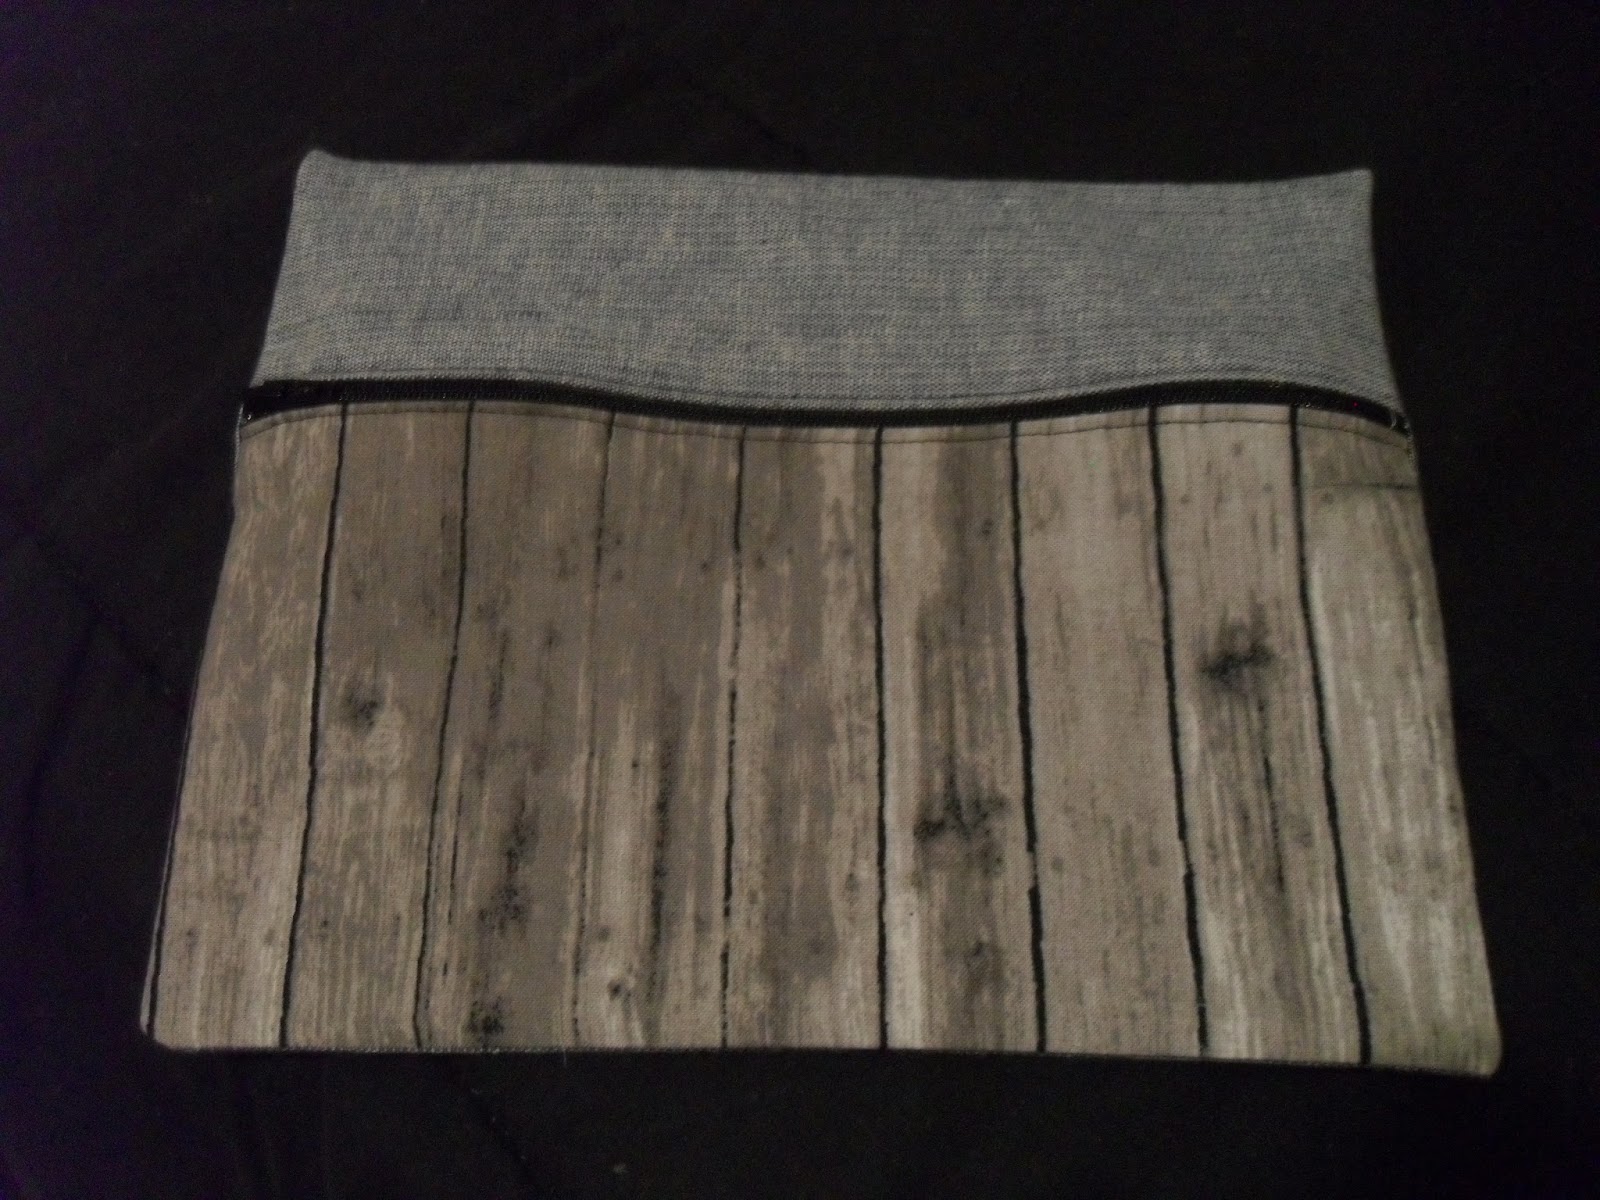
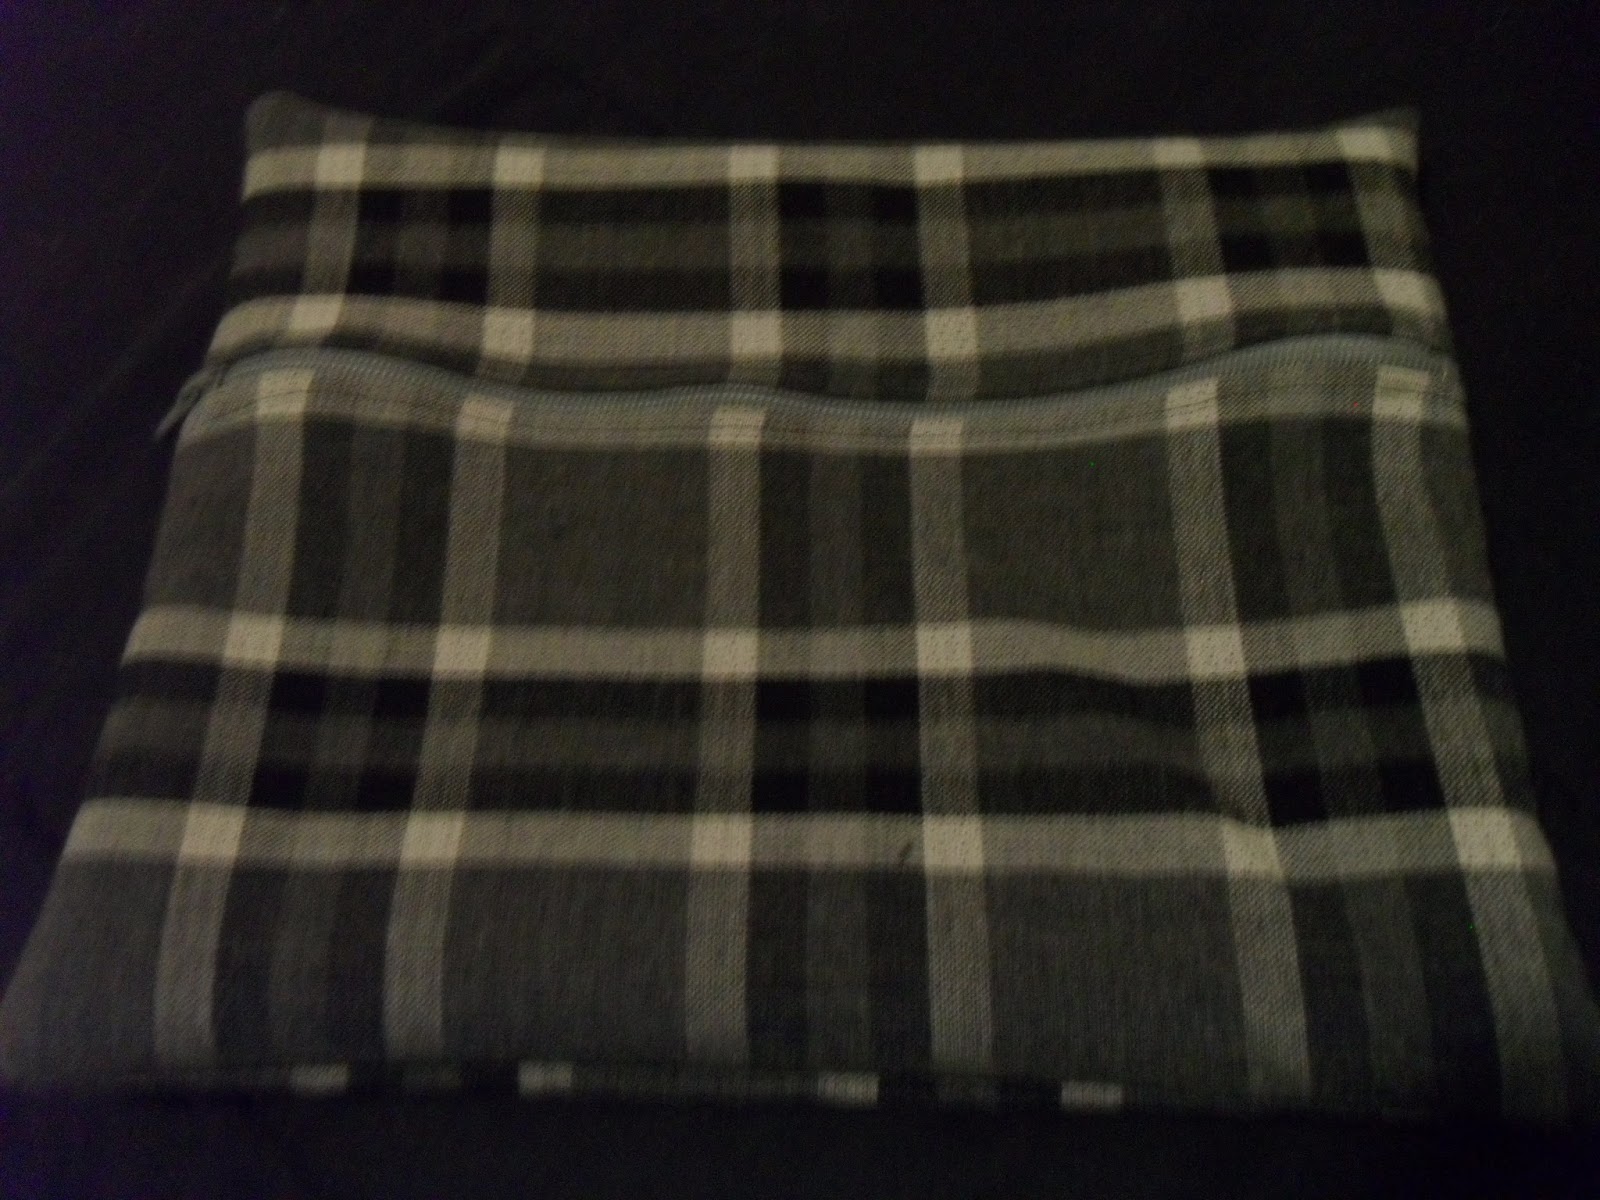
The pouch, having had plenty of previous experience, came together super quick. The zipper was the right size, thankfully. I did, however, notice that this pouch, as with my others, was a touch short when lining up the front and back. Not a huge deal because it is just two rectangles, but that is something to keep in mind when making yours. For my next versions, I may extend the top contrast piece by a half inch or so just so it comes out properly.
Now.....the dopp kitt...

I really feel like this needs some major tweaking. Like Lauren said, nothing matched up right. Okay, not *nothing*, but enough to make this a bit frustrating.

It seems that the top pieces that attach to the zipper don't take into account the seam allowance as both of the self fabric sides had to be trimmed by about a half inch on each side. This resulted in a narrower bag. This also mean trimming an inch off the bottom piece.
Maybe I'm a whiny baby, but the handle was too hard to turn with the home dec fabric so I just made my own in the same way I made my self fabric straps. That was an easy fix though.


As well, my seams did not line up at all and when attaching the top/side to the front and back pieces, they also ran a bit short. This, in conjunction with my zippers being way too big again, makes me think that maybe the dopp kit top was drafted but without the seam allowance by mistake? Something I'll try for the next ones is adding the extra seam allowance and seeing if that fixes the problem.
Also: worth mentioning that when attaching the top/sides to the front and back pieces, it is much easier when you pre-notch the fabric a bit to help ease everything together, especially when working with such thick and heavily-interfaced fabric. The curves came out much better.

Another minor, easily fixable problem is that in step 23, the picture shows an interfaced piece ten, though the pattern piece is not supposed to be interfaced. I thought that I had done something wrong and so I cut out another piece and interfaced it, which resulted in a pretty stiff/thick front. Again, this is being nit-picky, but it was my first bag and I just assumed I had misread something and forgot to cut out the extra piece. If I had gone back to look at the cutting layout, I would have realized I was wrong. The zipper was a bitch to sew on the top part of the front pocket, but that also has a lot to do with the state of my sewing machine....she could use a tune up.

Again, the inside is lined and looks great. Make sure you don't slip stitch the lining too close or it will keep getting caught in the zip (sorry Shanen!). Again, sewing the bottom of the bag was tricky, but it looks fine and it is the bottom so meh.

Overall, despite these issues I'm pretty damn pleased with how this turned out and I'm looking forward to making the next few Portsides. I really do recommend the pattern, the finished product looks freaking amazing if I do say so, and if you make it as a gift, everyone will be impressed that you made it (for reals). I just wish I had known about the aforementioned issues beforehand, is all. I've also started to think about how I might want to make one for myself eventually and what I'd like that to look like (Do I go colourful or classic? So hard to choose!).
Have you made the Portside Travel Set, or do you plan to? Let me know if you've encountered the same problems I have or let me know if it is just my inept bag sewing abilities that caused these problems.
Have a great rest of the week! :)