Saturday, 1 December 2012

Tom-ay-to, Tom-ah-to!

(This was originally posted on Bitches With Stitches on October 12th, 2012)

Sorry for being M.I.A. lately. Long story! Regardless, since this is one of the last weekends that you will be able to get tomatoes at the farmer's market and off your tomato plants (at least here in Niagara), I though I would show you how Trevor and I freeze our tomatoes for sauce.

But first a little garden story: When Trevor and I bought this house, one of the first things we did was start to plan out the garden. I went online to Johnny's Select Seeds and onto Salt Spring Seeds and went crazy! I just love growing plants from seed. It is very satisfying knowing that your tender loving care is what produced such a bounty of food in such a short time! Even better than that, I like growing heirloom varieties that no one else really grows.

Chillin' on my tomato plant: If you know what kind of caterpillar this is, please let me know!
This is especially true with tomatoes. Did you know that you can grow tomatoes that are red, green, yellow, orange, pink, white, purple, brown/black, striped, in husks, marble-sized, softball-sized, pepper-shaped, pear-shaped, smooth, bumpy, and everything in between? This means that I have lots of variety to choose from each year. (Next year? Yes, please!)

This year we chose three varieties: black cherry, wild, and riesetomate, which is my favourite, because it looks weird.

Unriped Riesetomate in my garden
We ended up with ten plants in the ground between the three varieties. Then, Trevor's tutor family gave him two giant flats of tomato plants (!!!). So, we dug a giant hole in the ground, planted ten more and put the rest in pots. The ones in pots sadly, did not do as well as the others (mostly because I tend to forget to water, and it was smokin' hot this summer), but the ones in the ground did great! Check out this one day's bounty:


We did not know what variety the plants that were given to us. My best guess is some saladette, some beefsteak, some roma, and some san marzano. Regardless, that means we had a garden, almost exclusively, of a lot of tomatoes! And anyone who has a few tomato plants knows that tomatoes don't always turn at the same time. So instead of canning them, we decided to freeze our tomatoes in a way that they would just need a little cooking down before becoming sauce.

I will warn you if you wish to give it a try: this is messy. And rewarding!

First get out your tomatoes! It is okay if they are a little green, or have yucky (not moldy), parts on them: you can cut them off. You don't want them to be too ripe and mushy (firm is good).


The next thing you have to do is give all your tomatoes two slices in the shape of an X on the "bum end" of the tomato. Make sure it is as shallow as you can get it. The aim is to pierce the skin.


Once all your tomatoes are ready and pierced, you need a large pot of boiling water, a pot of ice water (we just used super cold water, we had no ice), and something to move the tomatoes out of the hot into the cold. Place a few tomatoes at a time into the boiling water.


They will only need to be in there for about one minute. If you notice that the skin is already coming off, like the big tomato in the photo above, it is definitely ready! Next, transfer the tomatoes into the ice water to stop the cooking and get the next batch of tomatoes into the boiling water as you work.
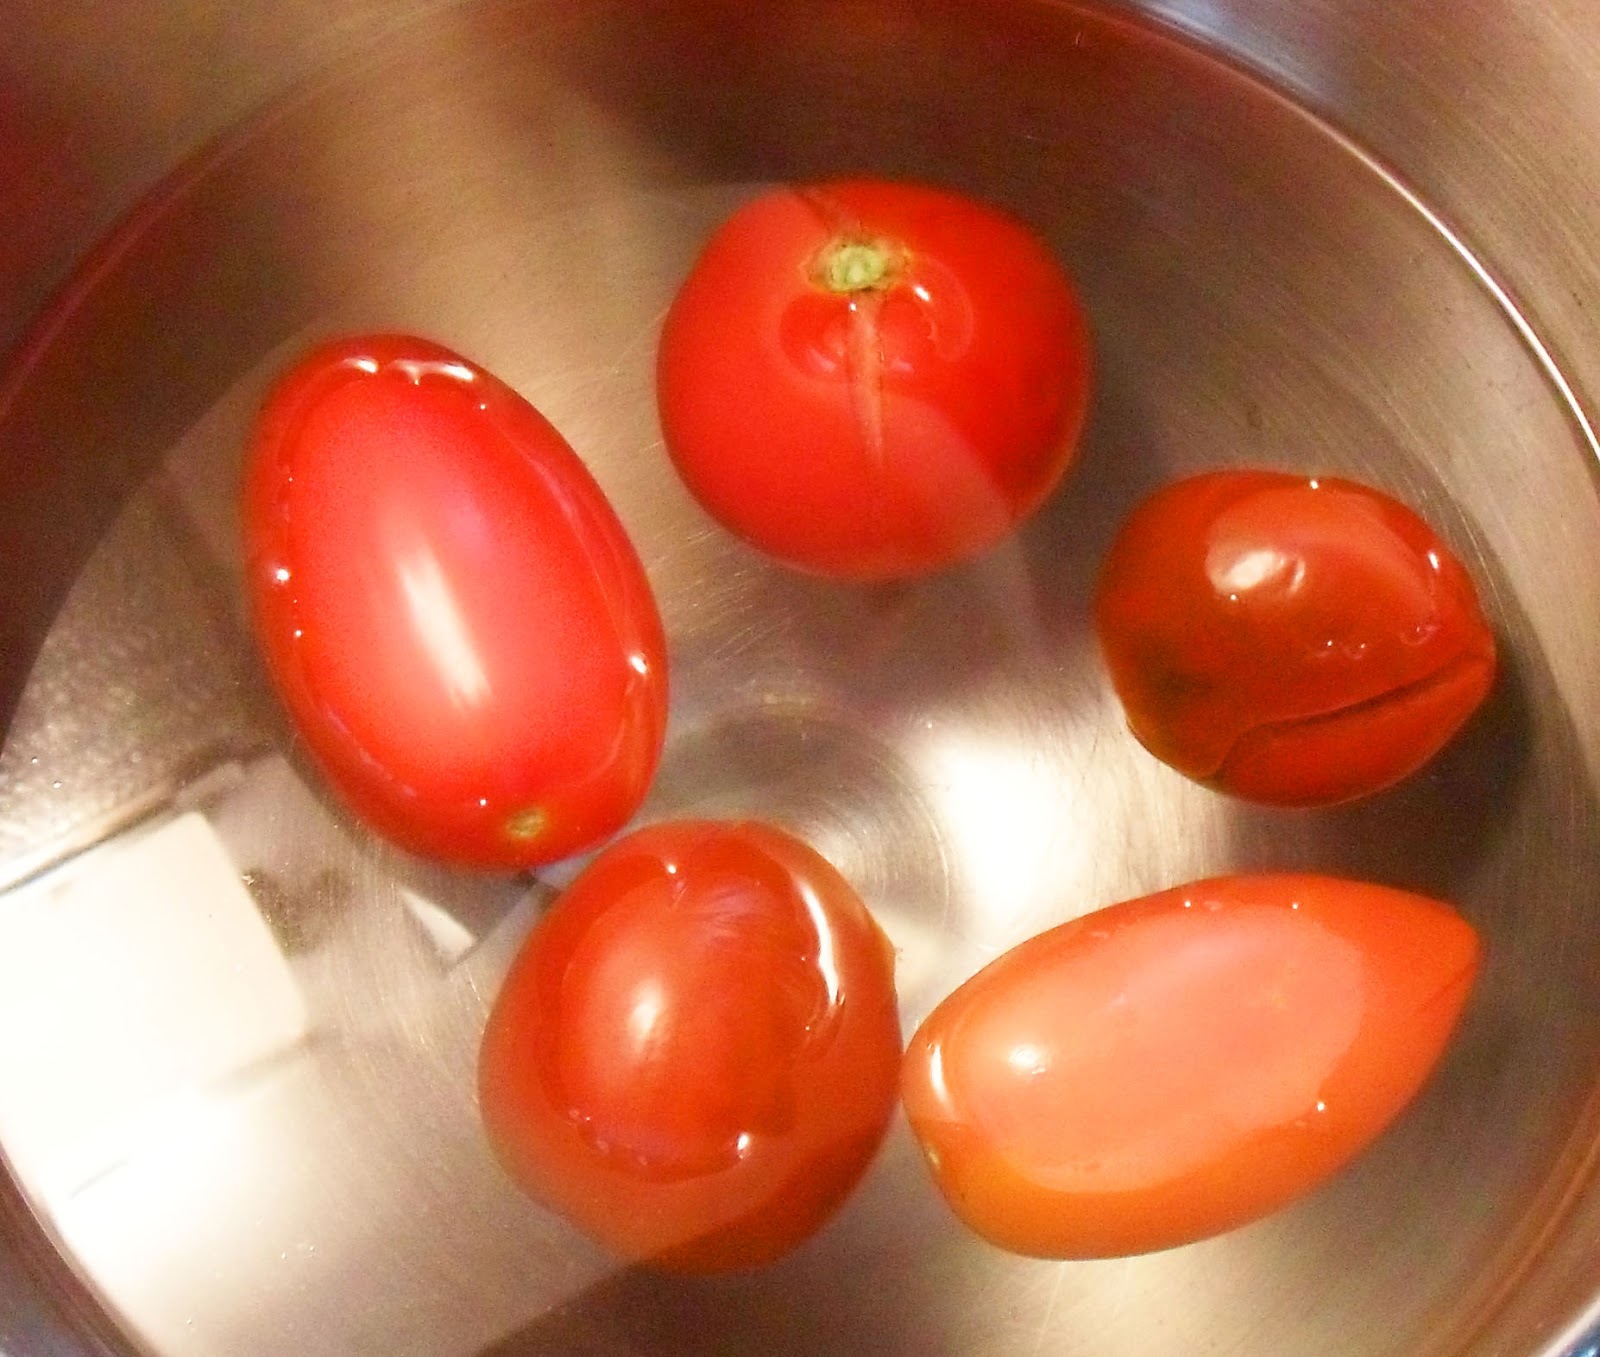


After about a minute or two, you can take the tomatoes out of the ice water and peel the skins off. You can discard the skins. Once peeled, cut out any of the aforementioned "yucky" spots, and slice in half.


Finally, SQUEEZE out the seeds, toss the "goods" into a strainer, and once you are finished all the tomatoes, take the tomatoes from the strainer and place into some freezer bags. Try to get out as much air as possible.


Enjoy on a cold winter's night!

Special thanks to the guide on Pick Your Own for getting us through the first time!

See you soon!

Carlee :)

Granny Alert!

(This was originally posted Bitches With Stitches on September 24th, 2012)

Some exciting news to share at the end of the post. Stick with me, it is worth it!

In other news: an apology. I was going to post a picture of my skirt today, but it wasn't finished. I didn't have an invisible zipper foot, or even a regular zipper foot, so I was going to hand-sew on my invisible zipper, which really isn't a big deal. but then I started thinking that maybe I'll make my skirt reversible since it already looks really nice on the inside, and if I was going to be putting in the extra effort to hand-sew the zippers, I might as well get the seam ripper out in order to hide my inside seam (this will make more sense next week). I figured that I would just suck it up, take the extra time and make it look really, really good. And in the meantime, while I was making up my mind with the skirt, I decided that I was going to do something up really quick that I had been planning on doing for some time.

So this all sounds very cryptic, but stay with me. So, when I picked out the fabric for the skirt, my mind started to race. I was trying to figure out what I would be able to wear with it-something that I already own. Then I thought about this minty green cardigan that I plucked from my sister's closet a few years ago. She bought it from Value Village, a local thrift store, for two or three dollars, and when she tired of it, she said I could just keep it (We borrowed a lot from each other at the time so I was wearing it often anyway). I was actually planning on giving it away because it looked like this:


Granny sweater alert! Even my hair looks granny here! I think I aged about 50 years.


Being a granny usually comes with saggy arms. This sweater has plenty of arm-sag!


It's just so ill-fitting. How did I ever wear this before?

So I decided to take a page out of Ms. Jillian Owens' and Ms. Charity Shop Chic's books and refashion it!

Now, unfortunately, I didn't think to take photos of what I did to my sweater, because fortunately this took all of an hour to refashion.

Here is the finished product! (Poor quality photos, sorry!)


Done up! Much better!


And unbuttoned!

So I will briefly explain what I did to it. First I chopped off the arms just past the elbow. For some reason I am not really a fan of fabric past my elbows. I think it is because I get all sorts of chalk and pen and pencil on my sleeves when I am teaching. No one likes a dirty sweater. Once I did the big chop, I put the sweater on inside out and pinned it in the armpit, in the waist, and near the bottom to so I would know where I would need to sew on the innards. I also tried to get a rough idea of how much fabric I could take out of the arm-sags. I pinched the sleeves and figured it was about an inch or so. I just sort of winged it to be honest. I then took the sweater off and sewed the sleeves tighter until the armpit. Here, I kept the needle in the fabric while I lifted my presser foot to turn the fabric. Then I sewed down the side of the sweater using the pins as my guide. I tried it on for fit, folded my sweater as perfectly in half as I could, then used my new taken in sweater side to mark the other half of the sweater so that both sides matched perfectly. I then followed my guide and sewed. I chopped off the inner excess (which got rid of some major pinching in the armpit areas), flipped up my sleeve ends twice, and sewed around the circumference of the sleeve to make a cute little sleeve cap, for lack of a better word.

That's it! New sweater complete! And the best part is that I haven't worn this sweater in years, and now I can't stop! Oh! Not to mention that it goes with the skirt I will be showing you this upcoming Saturday. How awesome it that? I think that I will be refashioning other items in the very near future! It is just so easy and satisfying to have a complete garment in a short time period.

Oh. Long story short. Another reason why I didn't finish my skirt is that I have been using my aunt's machine all this time and now that the weather is cool again, it is quilting season, and thus the machine is no longer with me. However: my birthday is in one month, and my other aunt and my husband are amazing:

Early birthday present!!!

Ain't she purrrty? So this is why this post is later than usual. I was putting her together and getting my skirt done! Hurrah!

See you soon!

Carlee

(powered by: Walk Off The Earth "From Me To You")

These Aren't The Droids You're Looking For...

 (This was originally posted on Bitches With Stitches on September 15th, 2012)

And now for something a little different. I went to visit Jamie a few weeks ago, right after I finished my dress, and since she took fashion and lives in Toronto, it naturally follows that we went to the Queen Street fabric shops. I bought some buttons for myself that I'm sure I will find a use for eventually. As well, I saw a fabric that I knew I had to buy immediately so that I could make something for Trevor.

Well, I made something, and today we walked to the market with Harley, picked up some lovely fresh fruit and veg, and Trevor modeled for me in public (a little awkward for him!).

I present to you, The TIE Fighter (Get it?):


The Jack Russell did not like Harley.


A close up of the magnificent print.


So I actually finished this the night before we went away for our one year anniversary. I did not use a pattern, rather I took one of Kyle's ties (I was staying with Jamie and Kyle), laid it out on the wrong side of the fabric, and I used a square and some good old fashioned arithmetic, and created my pattern pieces from that. I just marked the fabric with (shhh!) a pen, and cut them out. Once the tie was stitched together, I used some interfacing I had at home to stiffen the material (it is just a cotton), and then I stitched the back up by hand. It's not the prettiest back there, I was rushing to finish it the night before, but it works. Pretty easy overall.

I've already made another tie (more in a later post), and I've made some significant adjustments. For one, the new tie has a wool lining up the entire tie (this tie has no lining). Second, I skimped on the interfacing, figuring that only the bottom part of the tie would need the added stiffness, but it turns out the entire tie length needs it to ensure that the fabric doesn't twist from wear (which is happening to Trevor's after only two wears). Live and learn!


I still think it looks pretty good. I can't wait to make more nerd ties!

Here is another shot of our furbaby:


Oh! And remember how in my post about the Jungle Dress, I mentioned that I originally was going into Fabricland to pick out a different fabric? Well, here is a little sneak peek of what is to come soon:


I'm almost done and I'm already showing everyone! I can't wait! Cheers!

Carlee

(powered by: John Williams "Cantina Band")