Showing posts with label Self-Drafted. Show all posts

Sunday, 7 October 2018

Peak me.

I did a thing and CANNOT wait to show you guys!


Let's take a closer look:
Notice any similarities?

Last year I took a printmaking class at Rodman Hall. We did monoprinting using Gelli plates, made printing blocks from styrofoam plates and sticky-back fun foam:
A My Favorite Murder themed tote bag I made for a Christmas exchange last year.
...but most of our time was spent creating relief block prints out of lino. When deciding what to make prints of, it was pretty easy to decide I would carve an image of Sweet Dee's face into the lino. I mean how could I not?


SO. FRICKING. CUTE.

My lovely instructor, Kristen, suggested at some point that I experiment with the fabric ink that we had in class, and LIGHTBULB! YES I WILL MAKE A DRESS WITH DEE'S ADORABLE FACE ON IT.
I used my trusty Simplicity 1873 altered scoop neck bodice and added a circle skirt (with pockets, duh!).
Since this is a bodice I've sewn up many times before it went relatively quickly (as quickly as avoiding sewing 12 darts can go for a procrastinator), and the skirt went quickly too. The longest part of the process, and the most avoided, was having to heat set all the cute little Dee faces with an iron so that they don't come out in the wash. 
For the fabric, I used some quilting cotton that I picked up with the express purpose of this dress. Everything else in my stash already had a print or did not have enough yardage.
Look at how the back hangs!!!! SO puuuurrrrrtyyy.
In terms of construction when making my own fabric print, I had to make some adjustments. The first thing I did differently was I precut all the bodice and skirt pieces before printing on them. This allowed me to choose print placement (a.k.a. avoiding dogface boobs). In fact, since I knew I was going to put in pockets, I sewed the pockets and side seams, and even pressed the centre back skirt seam under so I could get perfect pattern matching just by lining everything up and having the stamp lay across both pieces. Doing this did result in a few lines where the bulk of the seams interrupted the print, but I preferred this to farting around with the stamp and trying to match it all after the fact. I only wish I had thought to do the same for the back bodice pieces as well.
I printed using Speedball screen printing ink, hence why each little Dee is inconsistent. For my next fabric, which I've already printed, I used their block fabric ink and I got a much nicer and more consistent print.
My handmade linocut.

I used horsehair braid again for the skirt hem, but instead of machine hemming it with the blind hem stitch like I usually do, I hand-sewed the hem. Sometimes you need to add those little touches to special pieces like this.
I used my stash Rayon Bemberg for the lining. Yup, that's the same stuff that I picked up like three years ago when my local Fabricland closed.
Overall I can't say much more than I LOVE THIS DRESS. I mean, we all knew I was a crazy dog mom, but like I've recently said, taking things to the next level makes me beyond happy. I have already been playing around with more printmaking and fabric and can't wait to see what I can do next!
Let's not forget our tradition of dumb faces:
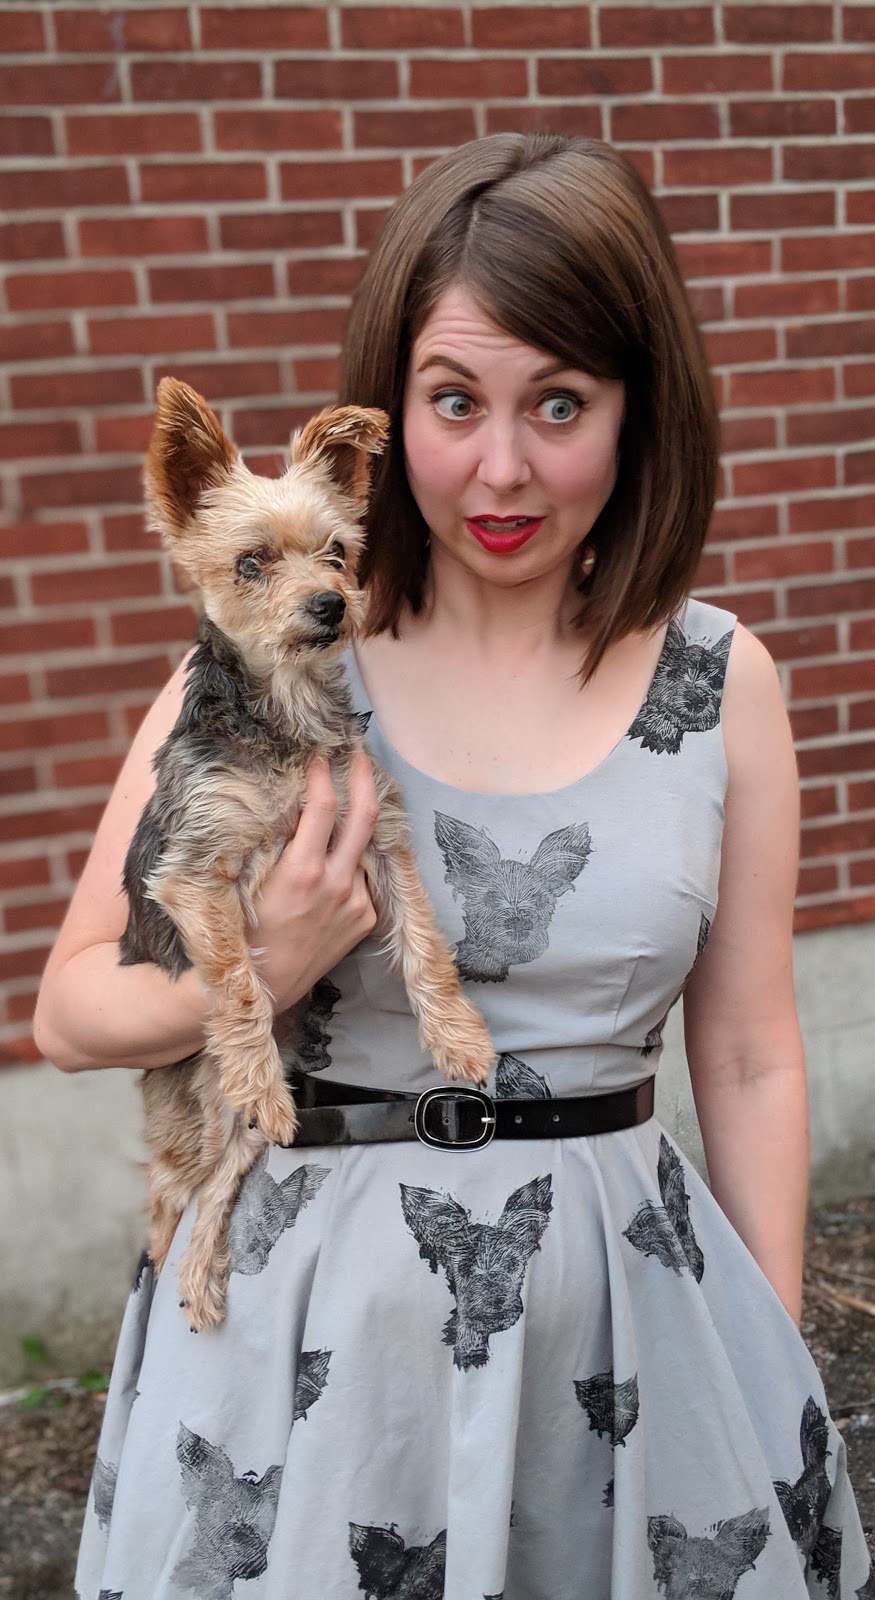
Had to crop Trev's finger out of this one 😂

And one for Dee with her eyes closed:
So tell me: would you make your own fabric? What would you put on it? I need all the ideas!


PS. LOOK AT THIS DOODLE A STUDENT DID ON THEIR NOTE THE FIRST TIME I WORE THIS TO WORK 😍... doesn't it just make you want to squeal with happiness?! Oh yeah, and it's like maybe an inch and a half big so it's doubly cute.😍😍

Saturday, 22 September 2018

Meta circle skirt V2.0

Thought I'd be one and done, didja?

Well, I'm back, and this time with ANOTHER meta circle skirt. Although I complained about not feeling very comfortable in V1.0 due to using a pretty lightweight fabric, I do still wear it because I find a circle skirt to be very flattering overall (Plus, who doesn't love twirling around in one?).
I decided some time ago that I wanted to be extra, as the kids would say (Seriously, I have to push down the "extraness" with every make... you guys are getting the watered down version with most makes 😳), and make a maxi circle skirt, so when I found this 108" wide quilt backing cotton sateen (at a store I had a giftcard for, no less!), I felt that the stars had aligned and decided to give'r.
With 108" to work with, I was able to cut a giant doughnut shape into my fabric just as I would have if I was making a shorter circle skirt. I decided to put pockets in, so I ended up making two more seams than I had to. I probably could have put the pockets higher up, but am just glad they are there. Not using a purse is so liberating!
Embrace the wrinkles, I took the pictures after wearing it, k?
I used a nice metal zip for the back. I figured the skirt has a weight to it, it would be nice to have a weightier zip on it. I didn't worry about pattern matching. This thing is so huge that you can't always see the seams in between the folds of fabric.
I used horsehair braid to finish off the hem (a.k.a. my new fav method), but decided to forego the blind hem in favour of actually getting to wear it out to the theatre/not spending a million hours hemming.
 As with pretty much any other time I make a circle skirt, I cut the waist to be much smaller than I should. Either my math is wrong (pretty sure it's not), or the waist stretches out way too easily (yes I staystitch), because my waists usually end up too big. This one, however, with the smaller cut ended up great, and I actually had to trim a touch off the top to get it to fit my waistband.
Overall thoughts:
Pros- extra swishy, feels very fancy, large pockets, nice weight and feel to fabric, hangs prettily, tons of compliments from strangers!
Cons- pockets too low (my fault), makes washroom trips challenging (like there is a LOT of fabric here people), not super practical for day-to-day use, gets toasty af in the summer (my fault for picking a hot day to wear it out lol).
Although it is super fancy, I still might wear this dude into work on occassion. If nothing else, it will be nice for when the hubs and I go out for a nice dinner, go to the Shaw Fest to catch a show, or have a wedding or other fancy thing to attend. It was sitting on my PIP pile for so long I'm just glad to have completed it.

Would I recommend you try a maxi circle skirt? Yeah I actually would. I said to Trev that if I  knew how to sew when we were getting married I would have been wearing this skirt (albeit in a different fabric), with a homemade top or bodysuit. I think this could be really scrumptious in a velvet or wool, something warm and cozy for winter, or something sheer (with a slip) for summer.

I wish I had gotten a .gif or video of it twirling to really give a sense of how nice it moves, but I didn't, so instead, here's an outtake:
Would you try a maxi circle skirt? What fabric would you make it in?

Tuesday, 31 May 2016

Meta Circle Skirt and a Brontesaurus

Apologies in advance: I set up an elaborate shoot with a friend and forgot to charge my camera so these are all done via phone.
Hey-o! How are you all doing? The school year is winding down here and the weather is gearing up to be a scorching hot summer (joy.). I've been super productive lately, but mostly outdoors.

After making ALL. THE. PORTSIDES., I desperately needed to make something for myself. I hadn't been a selfish sewer in SO long. I thought that now would be a good time to revisit my goal of making a functional tee for wearing with my skirts. Enter the Bronte.
I bought this pattern last year sometime but never got the chance to make it because of the quilt and Portsides. I figured this quick little window of time would allow me to whip one up.
 I found the construction to go pretty quick all in all and the instructions were easy to follow. I used the same gray Ponte knit as both of my mother's day gifts from last year. I like the idea of using Ponte for tees with a bit more substance, but I'm not entirely sure it is a good idea. It is super easy to work with since it is a stable knit, but I found some of my seams, especially the shoulder seams, to be a bit bulky. It took a LOT of steam from my iron to get them to calm down. I'm thinking I might give the plantain a go in some Ponte just to see if it is better without the overlapped shoulder detail. I know, I know, just buy some jersey, but I have like five cuts of Ponte that I'd like to use first.
I cut out a size 10 and graded out to a twelve at the hips. I feel that the fit is pretty good.
Unfortunately, I forgot to check how my fabric would deal with my iron/heat. If you look closely, you can see that when I used the steam setting, I made the fabric shiny on the back. I also did it on the arms, though it is less noticeable.
I accidentally used a different coloured thread to sew on the middle button on the left side so I made the right match. I used a plain wide zigzag for the top stitching and I rather like how it looks.
The circle skirt took a bit longer to make. The fabric that I got was only 45" wide so I had to piece this whole thing together in four panels. And me being me, I HAD to pattern match.

I'm very pleased with how that turned out. I mean it took friggin long enough. As part of my efforts to really take my time with my garments to make a handmade wardrobe that I will wear often and that will last, I bound all the seams inside the skirt.


As you can see above, my side seams are closer to the back than they should be. I didn't stay stitch the waist and it stretched out like MAD so I just took some fabric out of the back....so I suppose this isn't a "true" circle skirt but whatever.
I used my rolled hem foot again, and still had trouble going over the seams. Any tips for dealing with this?
I got the fabric for this skirt at a local quilting shop. It is an Art Gallery Fabrics print called Pointelle Shade and it feels lovely and soft and drapey. I love that it is a circle skirt with circle fabric. What can I say? It's the little things in life.
I made the skirt so it would fit a 29" waist which is a bit bigger than mine but I figured I would ENSURE I could wear this in the winter when I eat all the things. In order to piece everything together, I added a 1/2" of SA to each side of my pattern piece. It seemed to work out pretty well.
Not the greatest picture but you can see how the skirt falls a little nicer.
Overall, even with the issues I had with the top, I'm pleased with the outcome here. I've already gotten a few compliments at work, and I look forward to making some coordinating pieces to go with each separate all while working through my stash. More than anything, I look forward to swishing around in this skirt.
Swish Swish!
Let's not forget our daily outtake (trust me there were lots to choose from):
Shanen: Spin! I'll take a video so you can get the skirt twirling. Me: Ready? I am.
So, big questions: What tee patterns have you tried and liked? Have you ever tried using Ponte for something like a tee and been successful? Should I give up entirely and save the Ponte for a different project? Am I overthinking this entirely? Any tips, tricks, and suggestions are appreciated! I really want to make things I can wear easily over and over again and feedback is always helpful I find.

Take care :)

Friday, 20 May 2016

Clueing for Looks

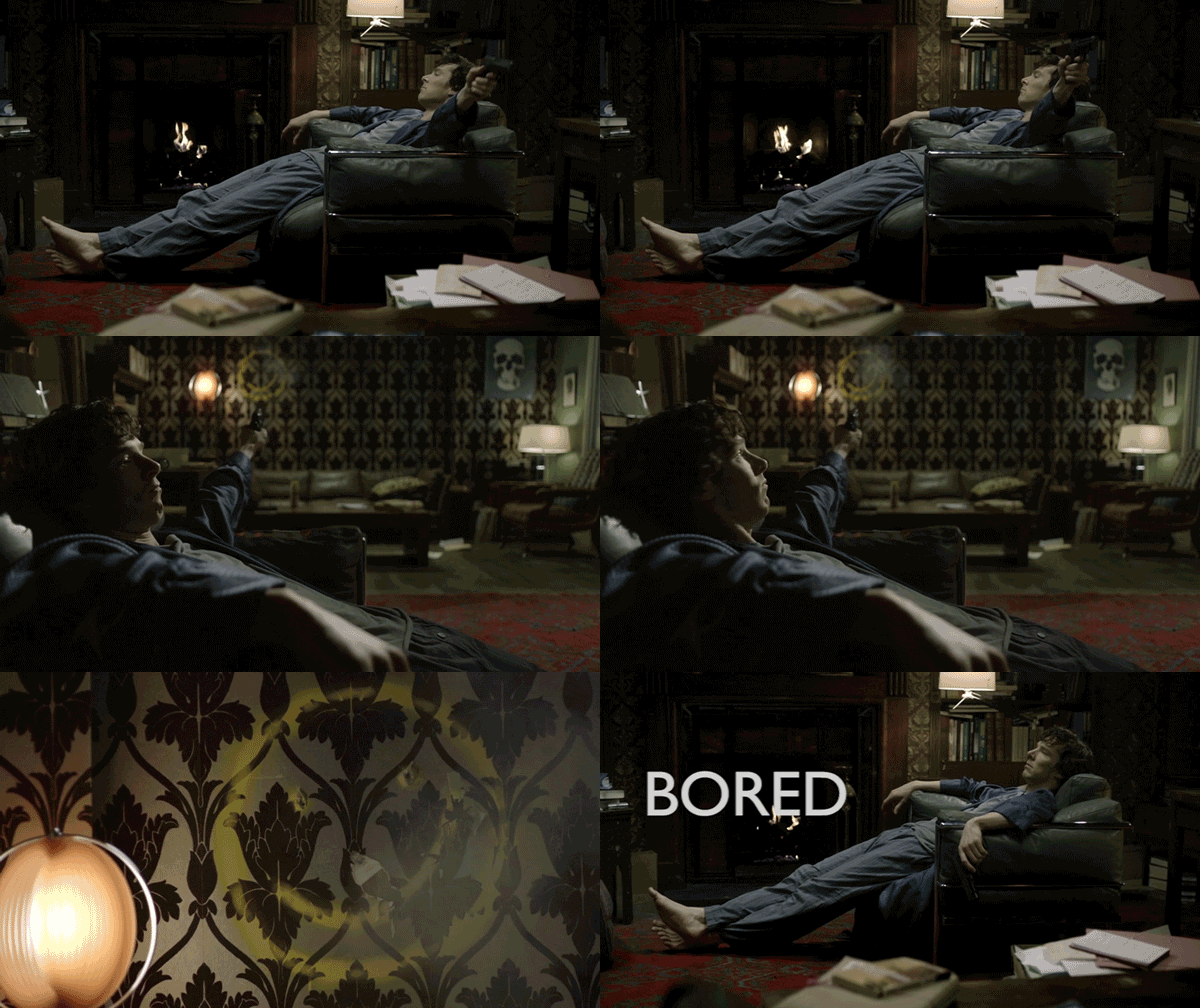
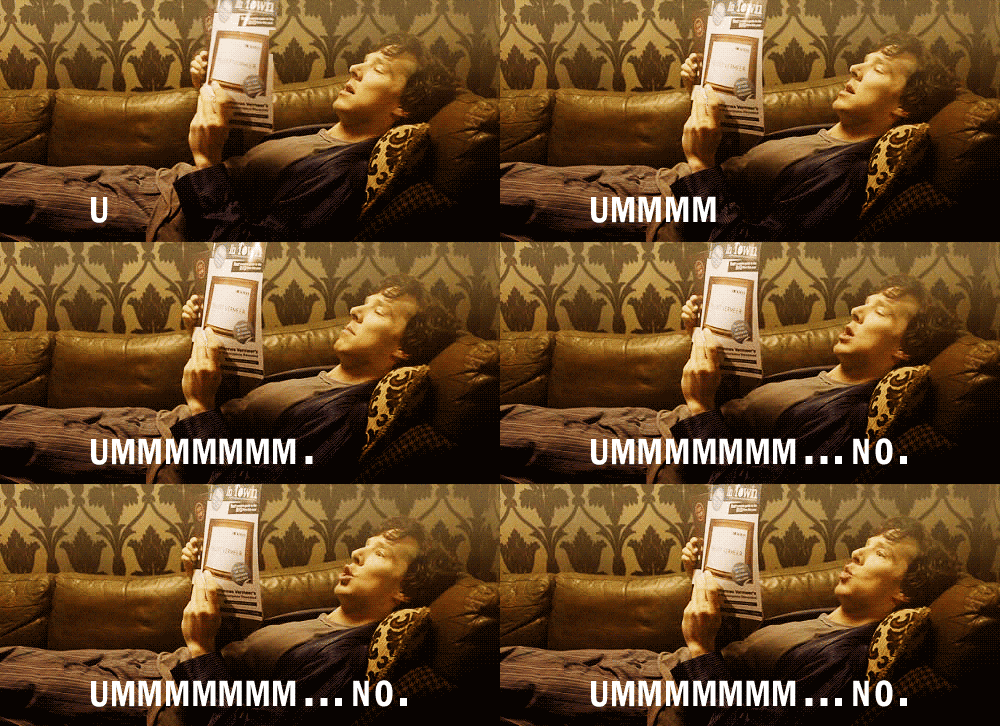
A few years back, Shanen came over for an evening hangout and--long story short--I got her hooked on Sherlock. So for Christmas two years ago, I thought it would be fun to make her a Sherlock skirt. We only just got around to taking pictures now.
I saw a few Sherlock skirts on Etsy, but figured that if I could find the fabric on Spoonflower (which I did here), then I could easily make one myself. You may recognize the overall theme of this skirt as "Bored Sherlock".
I picked up one yard of the cotton poplin, and figured it would be enough for a subtle gathered skirt.
Channeling the Sherlock collar flip.
When my local Fabricland went out of business a few years ago, I also bought them out of their wide black elastic. I figured that since this skirt was a surprise, I didn't want to sew a skirt with any major fitting. Shanen's mom helped out by measuring her (telling her it was for something that she was working on), so that I could get close to her sizing. I cut the fabric into a rectangle and stretched the elastic to fit the length of fabric, plus seam allowance. Easy-peasy.
I made sure to do my best to not end up with a weird pattern placement on the butt.
Can you spot the magnifying glass? Girl is dedicated to the theme.
I lined the skirt with a lovely blue Bemberg Rayon.
I also bound all the seams with blue binding, but didn't get a photo. One of my favourite parts of the skirt, however, is this:
Wait, what?
THIS:
I was trying to think of a way to add the smiley face from the wallpaper in the show to the skirt. At first I was planning on getting some fabric paint, then it hit me...embroidery!
I added a patch pocket, because, let's be real, all skirts are better when they have pockets, and then I did a simple split stitch smiley face. I was even extra careful to match the pattern of the pocket to the skirt.
Doing her best to channel Sherlock's thinking face.
Overall I am super pleased with how this turned out, an luckily, Shanen was too.
There is no better way to find fellow Sherlock fans in the world than to wear a skirt made out of his wallpaper print.
Oh! And let's not forget the best outtake of the "shoot":
Someone was having trouble keeping a straight face.

{Honey, you should see me in a crown}