Showing posts with label Cook.. Show all posts

Friday, 1 March 2013

Dairy Free Victoria Sponge

I told you we were in a baking mood lately. We had a friend over the other night so we thought it would be the perfect opportunity to try this recipe for Victoria Sponge. Trevor had tried it when we were in England and really liked it (which is saying something because he does not like cake). We adapted it to make it dairy free and we used our homemade strawberry jam that is to die for. You could use any berry jam though. You could also cover this cake with chocolate, a glaze, or whipped cream if you so desire. But this way it is very light, almost like a strawberry shortcake, and it tastes just like spring! Exactly what I need right now!

A recipe in photos....adapted from Nigella Lawson's How to Be a Domestic Goddess.
Preheat your oven to 355 degrees and line two round cake pans.


25 minutes later.........


 Delicious, dairy-free, and tastes like spring! I hope you enjoy this one as much as we did!

Monday, 25 February 2013

How to Line a Cake Pan LIKE A BOSS

This method is care of Alton Brown's Good Eats. I hope you enjoy his genius as much as I do!


Enjoy your cakes!

{15:03}

Friday, 15 February 2013

Daylight Come and Me Wan Go Home!

Can you tell I've been in a cooking mood lately? We've been trying to use up everything that is in our fridge, freezer, and cupboards lately to get them ready for spring. I know we have a long ways to go until spring, but it's good to get started now and take our time.

I've used this recipe since as long as I can remember. I don't know who gave it to us (I think it was one of my aunts), and I'm not sure where they got it, but I have no problem saying that this is the best banana bread recipe you will find. Hands down. So you need to try it.

Every time we buy bananas, if we don't eat them fast enough and the bananas start to get overripe to the point where we don't like to eat them, we stick them in the freezer (peel and all). So, not only is this the best banana bread recipe you'll ever try, it also prevents food from being wasted, which you likely know is kind of a big deal.

It is a weird recipe, but trust me, it is amazing! Oh, and did I mention it is dairy free? Just make sure you buy a dairy free mayonnaise (which is why I buy Miracle Whip or the non name similar ones). Here it is:

3 large overripe bananas
1 cup miracle whip
1 cup sugar
1 teaspoon baking soda
1 teaspoon baking powder
2 cups flour
optional: walnuts, chocolate chips, other fruit (like strawberries, blueberries, etc.)


1. Preheat oven to 350 degrees
2. In a large bowl, mash the bananas
3. Add all other ingredients (except optional ones) and thoroughly mix to combine
4. Stir in optional ingredients
5. Line a non-stick loaf in with parchment paper and pour in your mixture

Trevor wanted strawberries in his bread.

I wanted walnut pieces.
 6. Bake for 50-60 minutes
All done!
 7. Let cool for at least 20 minutes before enjoying
"I'm delicious!"
It might feel a little underdone, even if you cook it for the whole sixty minutes, but that is okay. You do NOT want the crust to burn on this baby, even a little. So if it is underdone, that's fine, it is still tasty.

Perfect as a late night snack or as breakfast in the morning. And even though it is dairy free, most people I know eat it warmed up in the microwave and slathered in butter.

I hope you enjoy!

{Six foot, seven foot, eight foot, BUNCH}

Thursday, 7 February 2013

Nobody's Gonna Lay a Finger on My Butterfinger

I love granola. It is sweet and salty and crunchy and delicious. Fo' reals. And it works as breakfast, as a snack, and as dessert. And it is great on a hike! Awesomesauce all around.

About a year ago I really got into granola, but I was buying the store-bought kind. It was good, but expensive. A friend from work asked me why I didn't just make it. I wasn't really sure. I'm usually keen on trying new things, but I wasn't sure that I would be able to make a delicious granola. At his insistence, I decided to give it a try. It turned out great!

But I wasn't done. It doesn't take long to realize how much you can experiment when making granola. This recipe is born out of one of those experiments. And a love of peanut butter.

Full disclosure: This is granola, yes, but do not be fooled. Granola packs a lot of energy, which means it is great for taking on a hike, but it is also great for traveling to the buttockular region, if you know what I mean. It is delicious, has some healthy elements to it, and it is definitely better than eating a lot of other foodstuffs. However, I wouldn't classify this as a "health food". Highly addictive, use at your own risk!

2 cups of quick cooking oats (I use gluten free from Bob's Red Mill)
1/2 cup raw, unsalted sunflower seeds
1/3 cup brown sugar
1/4 cup all natural peanut butter
1/4 cup canola oil (plus more depending on consistency)
1 tablespoon honey
2 teaspoons of milled flax seeds
1 hefty pinch of unprocessed sea salt (or more if you are a salt fiend like me)

Preheat oven to 325 degrees F
1. Mix the oats, sunflower seeds, sugar, flax seeds, and salt in a large bowl.
2. Add the honey and peanut butter and mix thoroughly (the peanut butter has a tendency to clump, so either use a mixer or get your hands in there)
3. Add the oil and mix again.
4. At this point, you need to look at your mixture: Are all of the oats coated? If not, add more oil until they are all coated.
5. Spread the oat mixture all over a parchment lined cookie sheet and bake for 20 minutes. Let cool for at least 15 before noshing!

Please note that this granola does not get very "crispy" like traditional granola does. But it will be crunchy. My favourite way to eat this so far is sprinkled over top of our homemade applesauce for breakfast! De-frickin-lish!

You could also try adding some chocolate chips to the mix once it is out of the oven if you'd really like it to taste like a butterfinger chocolate bar! Or some peanuts to make it super peanut-y. It's all up to you really. But I do hope you enjoy it as much as we do here!

Enjoy!

Monday, 4 February 2013

Please Do Not Mi'Steak Me For a Regular Sandwich

It really has been too long since I've posted anything. The other night on our way home from work, there was a familiar sentence coming out of my mouth: "Man! I'm hungry!"

Now usually, at this point, Trevor looks at me and says something like, "Why don't you have a banana when we get home?" But not today people! That night he looked at me, "Me too."

To the grocery store!

We arrived there at 9:30pm when the following conversation ensued:

Trev: So what do you want to eat?
Me: I have no idea.
Trev: Well, do you feel like a sandwich?
Me: Not really. I don't want any deli meat.
Trev: Well, I'm having a sandwich.
Me: Well, maybe I'll get some bread. I dunno.
We walk over to the bakery section. Trevor gets his bread. We start to walk away.
Trev: Well, what are you going to eat?
Me: I don't know, because honestly, I could go for a steak right now. Or a mushroom risotto. But that's too much work.
Trev: So get a steak!
Me: Hmm...I dunno. I guess so. But I don't know what to have with it. Maybe I'll just get some bread to go with it.
Trev: There ya go.
Me: WAIT! .......Why don't I put the steak ON the bread?! Make a steak sandwich!?
Trev: And you could get an onion to put on it?
Me: Oh my gosh that's such a good idea!! Ooh! I'm excited now!
Trev: That sounds good, actually. I think I'll have one too.

And so this very fast and very delicious steak sandwich was born. Sometimes you just need a little bit of inspiration to take something simple and make it delicious too. Now, you might think that a steak sandwich doesn't need any directions because it is so easy to make. However, just try this once the way that we did and you will be grateful you did!

Ingredients:
-One onion (we used a Spanish onion because it is from Canada and we like to support our local economy, you should too!)
-One crusty baguette (Buy the best one you can. We use two demi baguettes which is fine also.)
-One large steak (Here we bought the cheapest steak we could. I normally wouldn't recommend doing this, because nothing beats a good sirloin, but since we were just flash frying it for the sandwich, nothing fancy, what we bought was fine. I think it was just a flank steak or something. Whatever you do, don't buy a marinating steak, or stir frying steak, unless you like your meat tough. It should be one large piece, and about 3/4 of an inch  to 1 inch thick).
-About 1 tablespoon of olive oil
-Red wine
-Salt and pepper

1. Heat a non-stick frying pan over medium-high heat.
2. Rub the tablespoon of olive oil on to both sides of the steak. Sprinkle with salt and pepper.
3. When the pan is hot enough, place the steak on the pan. Do not touch it for four minutes! Not one bit!
4. While the steak is cooking, slice the onion up into 1cm fat rounds.
5. After the four minute mark, flip your steak and let it sit for another four minutes.
6. While this is happening, cut open your delish baguettes.
7. Once your steak's done the second four minutes, remove from the pan and place it on a cookie sheet lined with a cooling rack. This is important because you want the meat to rest and if it sits on something that not only conducts heat but that is right next to the meat, it will continue to cook.
8. Take your onions and separate the round as you place them into the pan where the steak was. Salt and pepper the onions. You should have enough fat from the steak leftover to cook the onions in, but if you don't, add a little bit of olive oil (not a lot though!). The pan will not look pretty, but that's okay.
9. When the onions start to stick to the steak bits that have been left on the pan, grab some red wine and pour into the pan. You don't want a lot, just enough to lift the "gunk" off the bottom of the pan with some tongs or a spatula, and flavour the onions. Continue doing this as the onions stick. I had to do it three times. Once the onions are soft and translucent, but flavoured with the wine and steak, you can turn off the heat and prepare to serve!
10. Cut your steak into slices (it should be well rested by now), and place on your baguette.
11. Layer your onions over top and enjoy! This would certainly go well with some grainy mustard or some thin cheese melted over one of the buns, but since I can't have dairy, and I'm not crazy for mustard, I enjoyed as is!
Super simple, but the technique makes all the difference. The onions are to die for thanks to cooking it in the steak juices and lifting up the frond (the correct term for the "steak gunk" leftover in the pan) with red wine. I hope that the next time you need a good meal fast, you think of this!

Cheers!


Saturday, 1 December 2012

Tom-ay-to, Tom-ah-to!

(This was originally posted on Bitches With Stitches on October 12th, 2012)

Sorry for being M.I.A. lately. Long story! Regardless, since this is one of the last weekends that you will be able to get tomatoes at the farmer's market and off your tomato plants (at least here in Niagara), I though I would show you how Trevor and I freeze our tomatoes for sauce.

But first a little garden story: When Trevor and I bought this house, one of the first things we did was start to plan out the garden. I went online to Johnny's Select Seeds and onto Salt Spring Seeds and went crazy! I just love growing plants from seed. It is very satisfying knowing that your tender loving care is what produced such a bounty of food in such a short time! Even better than that, I like growing heirloom varieties that no one else really grows.

Chillin' on my tomato plant: If you know what kind of caterpillar this is, please let me know!
This is especially true with tomatoes. Did you know that you can grow tomatoes that are red, green, yellow, orange, pink, white, purple, brown/black, striped, in husks, marble-sized, softball-sized, pepper-shaped, pear-shaped, smooth, bumpy, and everything in between? This means that I have lots of variety to choose from each year. (Next year? Yes, please!)

This year we chose three varieties: black cherry, wild, and riesetomate, which is my favourite, because it looks weird.

Unriped Riesetomate in my garden
We ended up with ten plants in the ground between the three varieties. Then, Trevor's tutor family gave him two giant flats of tomato plants (!!!). So, we dug a giant hole in the ground, planted ten more and put the rest in pots. The ones in pots sadly, did not do as well as the others (mostly because I tend to forget to water, and it was smokin' hot this summer), but the ones in the ground did great! Check out this one day's bounty:


We did not know what variety the plants that were given to us. My best guess is some saladette, some beefsteak, some roma, and some san marzano. Regardless, that means we had a garden, almost exclusively, of a lot of tomatoes! And anyone who has a few tomato plants knows that tomatoes don't always turn at the same time. So instead of canning them, we decided to freeze our tomatoes in a way that they would just need a little cooking down before becoming sauce.

I will warn you if you wish to give it a try: this is messy. And rewarding!

First get out your tomatoes! It is okay if they are a little green, or have yucky (not moldy), parts on them: you can cut them off. You don't want them to be too ripe and mushy (firm is good).


The next thing you have to do is give all your tomatoes two slices in the shape of an X on the "bum end" of the tomato. Make sure it is as shallow as you can get it. The aim is to pierce the skin.


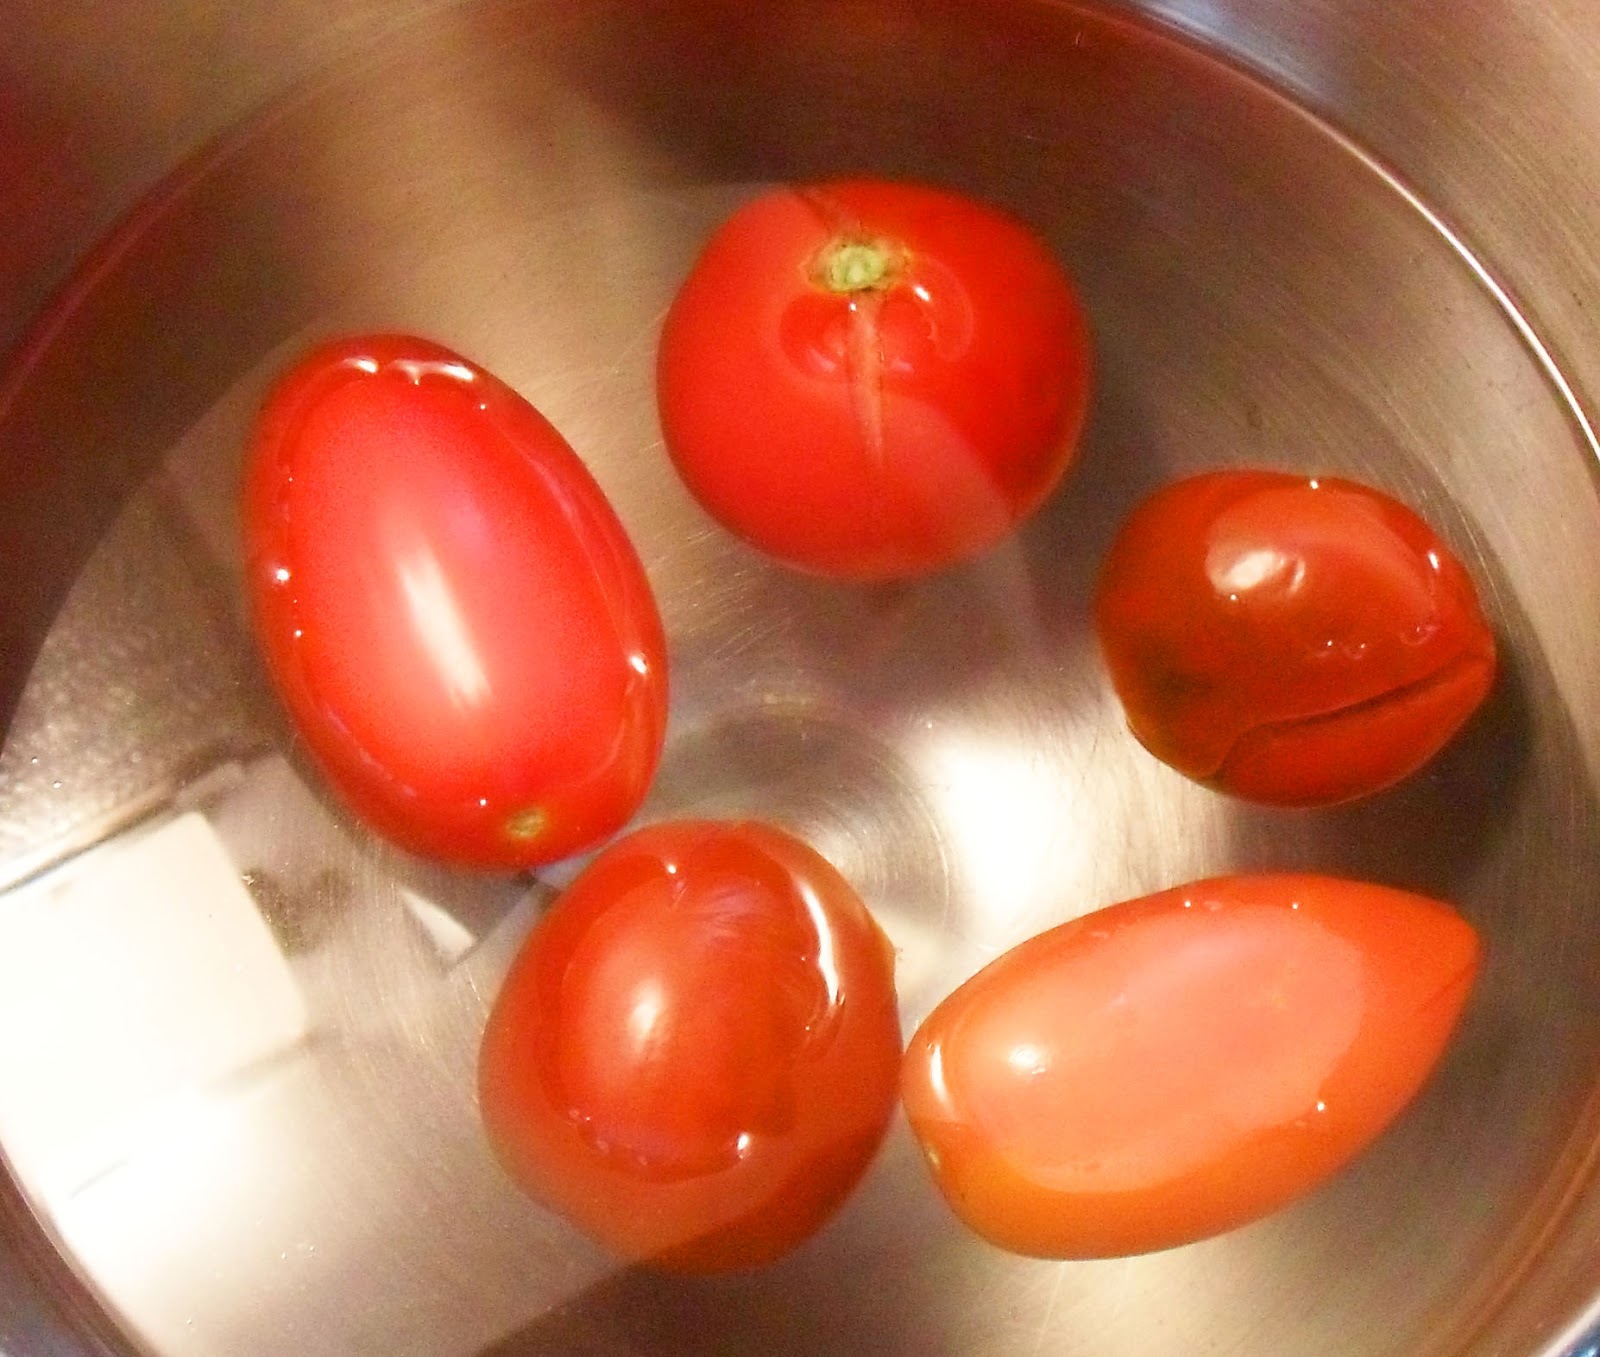
Once all your tomatoes are ready and pierced, you need a large pot of boiling water, a pot of ice water (we just used super cold water, we had no ice), and something to move the tomatoes out of the hot into the cold. Place a few tomatoes at a time into the boiling water.


They will only need to be in there for about one minute. If you notice that the skin is already coming off, like the big tomato in the photo above, it is definitely ready! Next, transfer the tomatoes into the ice water to stop the cooking and get the next batch of tomatoes into the boiling water as you work.


After about a minute or two, you can take the tomatoes out of the ice water and peel the skins off. You can discard the skins. Once peeled, cut out any of the aforementioned "yucky" spots, and slice in half.


Finally, SQUEEZE out the seeds, toss the "goods" into a strainer, and once you are finished all the tomatoes, take the tomatoes from the strainer and place into some freezer bags. Try to get out as much air as possible.


Enjoy on a cold winter's night!

Special thanks to the guide on Pick Your Own for getting us through the first time!

See you soon!

Carlee :)